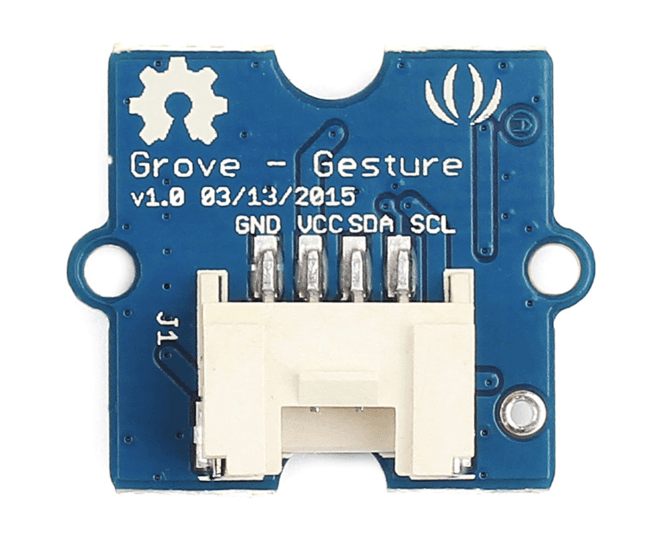
The sensor on Grove - Gesture is PAJ7620U2 that integrates gesture recognition function with general I2C interface into a single chip. It can recognize 9 basic gestures ,and these gestures information can be simply accessed via the I2C bus.
Application: You can use Gesture as an input device to control another grove, or a computer, mobile phone, smart car, robot, and more with a simple swipe of your hand.
| 9 basic gestures | Up |
|---|---|
| Down | |
| Left | |
| Right | |
| Forward | |
| Backward | |
| Clockwise | |
| Count Clockwise | |
| Wave |
| Sensor | PAJ7620U2 |
| Power supply | 5V |
| Ambient light immunity | < 100k Lux |
| Gesture speed in Normal Mode | 60°/s to 600°/s |
| Gesture speed in Gaming Mode | 60°/s to 1200°/s |
| Interface type | IIC interface up to 400 kbit/s |
| Operating Temperature | -40°C to +85°C |
| Dimensions | 20 * 20mm |
| Detection range | 5-15mm |
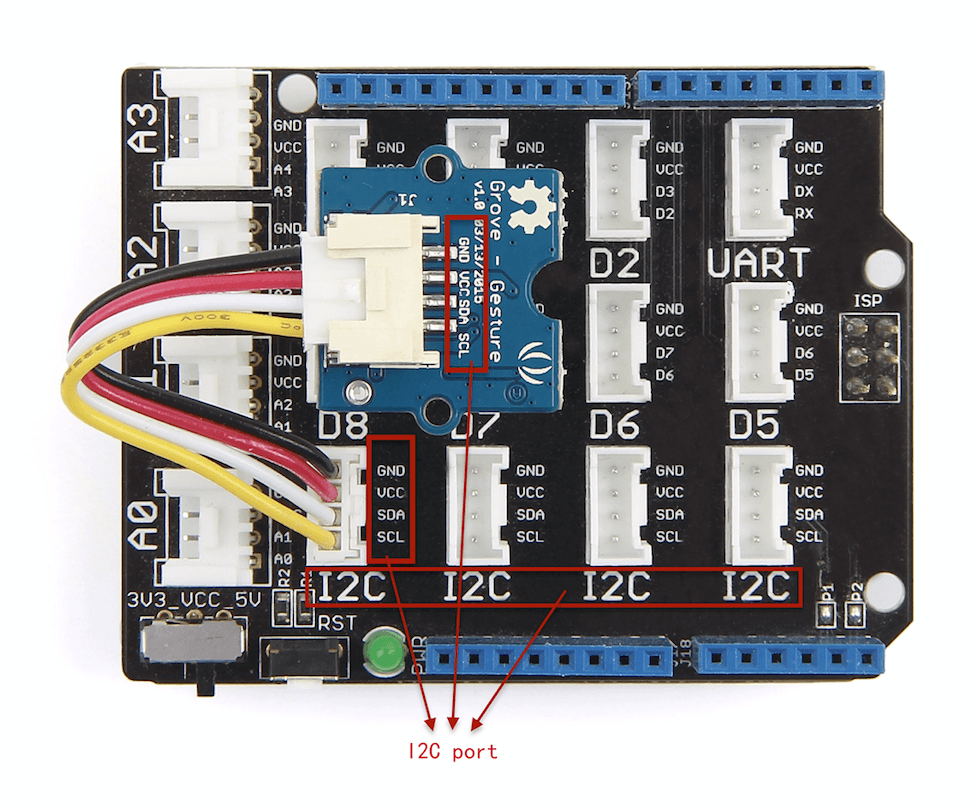
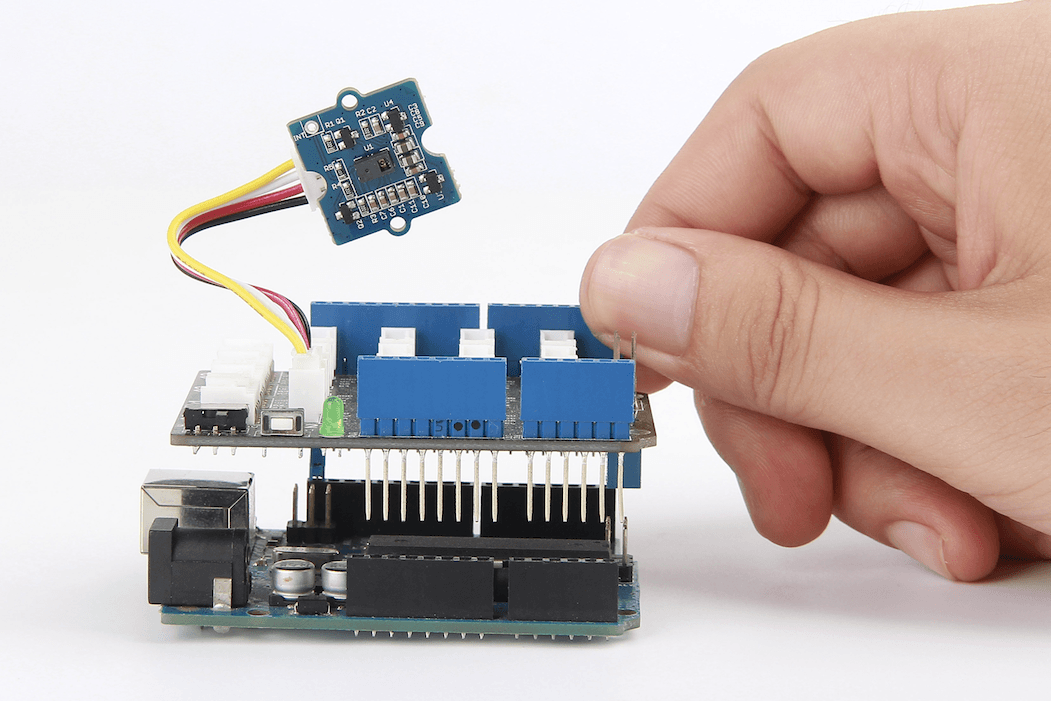
Grove products have a eco system and all have a same connector which can plug onto the Base Shield. Connect this module to the I2C port of Base Shield, however, you can also connect Grove - Gesture to Arduino without Base Shield by jumper wires.
| Arduino UNO | Base Shield | Grove - Gesture |
|---|---|---|
| 5V | I2C port | VCC |
| GND | GND | |
| SDA | SDA | |
| SCL | SCL | |
| Digit 2 | Not connected | INT (Reserved pad) |
INT:Gesture detection interrupt flag mask. You can connect INT pad to digit 2 of Arduino by using jumper wire.
We have created a library to help you start playing quickly with the Seeeduino/Arduino, in this section we'll show you how to set up the library and introduce some of the functions.
The following simple demo will show you a very easy application: When you move up, the red led will be turned on, otherwise the red led will be turned off.
#include <Wire.h>
#include "paj7620.h"

void setup()
{
  paj7620Init();
}

void loop()
{
	uint8_t data = 0;  // Read Bank_0_Reg_0x43/0x44 for gesture result.

	paj7620ReadReg(0x43, 1, &data);  // When different gestures be detected, the variable 'data' will be set to different values by paj7620ReadReg(0x43, 1, &data).

	if (data == GES_UP_FLAG) 							// When up gesture be detected,the variable 'data' will be set to GES_UP_FLAG.
		digitalWrite(4, HIGH);   				        // turn the LED on (HIGH is the voltage level)
	if (data == GES_DOWN_FLAG) 						// When down gesture be detected,the variable 'data' will be set to GES_DOWN_FLAG.
        digitalWrite(4, LOW);   					    // turn the LED off by making the voltage LOW
}
These are the most important/useful function in the library, we invite you to look at the .h and .cpp files yourself to see all the functions available.
void setup()
{
  paj7620Init();
}
This initialization code should be added to each demo.
void loop()
{
	uint8_t data = 0;  // Read Bank_0_Reg_0x43/0x44 for gesture result.

	paj7620ReadReg(0x43, 1, &data);  // When different gestures be detected, the variable 'data' will be set to different values by paj7620ReadReg(0x43, 1, &data).

	if (data == GES_UP_FLAG) 							// When up gesture be detected,the variable 'data' will be set to GES_UP_FLAG.
		digitalWrite(4, HIGH);   				        // turn the LED on (HIGH is the voltage level)
	if (data == GES_DOWN_FLAG) 						// When down gesture be detected,the variable 'data' will be set to GES_DOWN_FLAG.
        digitalWrite(4, LOW);   					    // turn the LED off by making the voltage LOW
}
| Gesture | Register Data | Register Address | If Yes | If Not |
|---|---|---|---|---|
| Up | data==GES_UP_FLAG | 0x43 | Gesture detected | No gesture detected |
| Down | data==GES_DOWN_FLAG | |||
| Left | data==GES_LEFT_FLAG | |||
| Right | data==GES_RIGHT_FLAG | |||
| Forward | data==GES_FORWARD_FLAG | |||
| Backward | data==GES_BACKWARD_FLAG | |||
| Clockwise | data==GES_CLOCKWISE_FLAG | |||
| Count Clockwise | data==GES_COUNT_CLOCKWISE_FLAG | |||
| Wave | data==GES_WAVE_FLAG | 0x44 |
These examples are going to show you how to recognize gestures from this Grove - Gesture.
Description: This example can recognize 9 gestures and output the result, including move up, move down, move left, move right, move forward, move backward, circle-clockwise, circle-counter clockwise, and wave. You also can use Gesture as an input device to control another grove, or a computer, mobile phone, smart car, robot, and more with a simple swipe of your hand.
Notice: When you want to recognize the Forward/Backward gestures, your gestures' reaction time must less than GES_ENTRY_TIME(0.8s). You also can adjust the reaction time according to the actual circumstance.
/*
Notice: When you want to recognize the Forward/Backward gestures, your gestures' reaction time must less than GES_ENTRY_TIME(0.8s).
        You also can adjust the reaction time according to the actual circumstance.
*/

#define GES_REACTION_TIME		500	// You can adjust the reaction time according to the actual circumstance.
#define GES_ENTRY_TIME			800	// When you want to recognize the Forward/Backward gestures, your gestures' reaction time must less than GES_ENTRY_TIME(0.8s).
#define GES_QUIT_TIME			1000
Following are the main program used in the demo:
void setup()
{
	uint8_t error = 0;

	Serial.begin(9600);
	Serial.println("\nPAJ7620U2 TEST DEMO: Recognize 9 gestures.");

	error = paj7620Init();			// initialize Paj7620 registers
	if (error)
	{
		Serial.print("INIT ERROR,CODE:");
		Serial.println(error);
	}
	else
	{
		Serial.println("INIT OK");
	}
	Serial.println("Please input your gestures:\n");
}

void loop()
{
	uint8_t data = 0, data1 = 0, error;

	error = paj7620ReadReg(0x43, 1, &data);				// Read Bank_0_Reg_0x43/0x44 for gesture result.
	if (!error)
	{
		switch (data) 									// When different gestures be detected, the variable 'data' will be set to different values by paj7620ReadReg(0x43, 1, &data).
		{
			case GES_RIGHT_FLAG:
				delay(GES_ENTRY_TIME);
				paj7620ReadReg(0x43, 1, &data);
				if(data == GES_FORWARD_FLAG)
				{
					Serial.println("Forward");
					delay(GES_QUIT_TIME);
				}
				else if(data == GES_BACKWARD_FLAG)
				{
					Serial.println("Backward");
					delay(GES_QUIT_TIME);
				}
				else
				{
					Serial.println("Right");
				}
				break;
			case GES_LEFT_FLAG:
				delay(GES_ENTRY_TIME);
				paj7620ReadReg(0x43, 1, &data);
				if(data == GES_FORWARD_FLAG)
				{
					Serial.println("Forward");
					delay(GES_QUIT_TIME);
				}
				else if(data == GES_BACKWARD_FLAG)
				{
					Serial.println("Backward");
					delay(GES_QUIT_TIME);
				}
				else
				{
					Serial.println("Left");
				}
				break;
			case GES_UP_FLAG:
				delay(GES_ENTRY_TIME);
				paj7620ReadReg(0x43, 1, &data);
				if(data == GES_FORWARD_FLAG)
				{
					Serial.println("Forward");
					delay(GES_QUIT_TIME);
				}
				else if(data == GES_BACKWARD_FLAG)
				{
					Serial.println("Backward");
					delay(GES_QUIT_TIME);
				}
				else
				{
					Serial.println("Up");
				}
				break;
			case GES_DOWN_FLAG:
				delay(GES_ENTRY_TIME);
				paj7620ReadReg(0x43, 1, &data);
				if(data == GES_FORWARD_FLAG)
				{
					Serial.println("Forward");
					delay(GES_QUIT_TIME);
				}
				else if(data == GES_BACKWARD_FLAG)
				{
					Serial.println("Backward");
					delay(GES_QUIT_TIME);
				}
				else
				{
					Serial.println("Down");
				}
				break;
			case GES_FORWARD_FLAG:
				Serial.println("Forward");
				delay(GES_QUIT_TIME);
				break;
			case GES_BACKWARD_FLAG:
				Serial.println("Backward");
				delay(GES_QUIT_TIME);
				break;
			case GES_CLOCKWISE_FLAG:
				Serial.println("Clockwise");
				break;
			case GES_COUNT_CLOCKWISE_FLAG:
				Serial.println("anti-clockwise");
				break;
			default:
				paj7620ReadReg(0x44, 1, &data1);
				if (data1 == GES_WAVE_FLAG)
				{
					Serial.println("wave");
				}
				break;
		}
	}
	delay(100);
}
In your own project, you may need multi-gestures instead of a single gesture to realise one function , welcome to share!